Zombie Make Up Kit
Applying Zombie Make-Up
1. Starting with Cream Color Circle (Black Eye); apply ‘Lake Altrot’ into the corners of the eyes and blend into the socket lines. Then apply in the creases under the eyes blending it round the hollows of the socket. The colour should have more concentration in the deeper contours of the eyes.
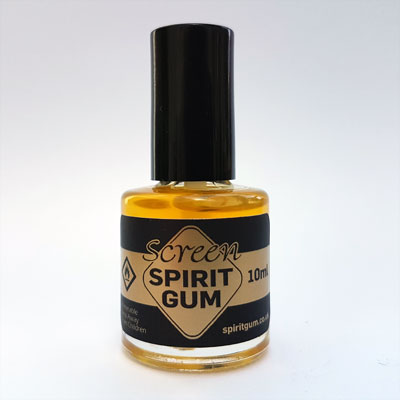
2. Apply Spirit Gum 30 ml through the eyebrows. With Cine-Wax 10 g create worm shapes to sit across the brow bones. Blend edges into the forehead and brow bone. For wounds, apply Spirit Gum 30 ml first. Place a lump of Cine-Wax 10 g over the top, blending in the edges. Carefully remove the centre using a spatula.
3. Stipple Liquid Latex clear 100 ml around the edges of the Cine-Wax 10 g. Then, using ‘1’ and ‘2’ from the Cream Color Circle (Black Eye), stipple over the Cine-Wax 10 g and onto the surrounding skin. Mixing ‘Lake Altrot’ and ‘3’ from the Cream Color Circle (Black Eye) into the edges inside the wounds, then with shade ‘4’ contour under the cheeks bones.
4. Set the make-up with Translucent Powder 20 g. Using Fresh Scratch 50 ml (dark) carefully fill each wound with a shallow layer, stipple it around the mouth and chin, use your fingers for a more natural impression. Now use the F/X Blood 50 ml into the wounds and let it run down the face.
5. To add the final detail, dry the teeth with a tissue and keep the mouth open. Paint Tooth Enamel directly onto the teeth and leave to dry before closing the mouth.
6. Once complete, put on a little more F/X Blood 50 ml and Fresh Scratch 50 ml (dark) to achieve a layered effect. This is only a guide and you can use your imaginiation to create the best Zombie effects with these Fantastic Products


